Creating a simple application via image
This technical guide demonstrates how to efficiently create, manage, and access containerized applications in using Kubernetes-native methodologies.
TOC
IntroductionUse CasesTime CommitmentImportant NotesPrerequisitesWorkflow OverviewProcedureCreate namespaceConfigure Image RepositoryMethod 1: Integrated Registry via ToolchainMethod 2: External Registry ServicesCreate application via DeploymentExpose Service via NodePortValidate Application AccessibilityIntroduction
Use Cases
- New users seeking to understand fundamental application creation workflows on Kubernetes platforms
- Practical exercise demonstrating core platform capabilities including:
- Project/Namespace orchestration
- Deployment creation
- Service exposure patterns
- Application accessibility verification
Time Commitment
Estimated completion time: 10-15 minutes
Important Notes
- This technical guide focuses on essential parameters - refer to comprehensive documentation for advanced configurations
- Required permissions:
- Project/Namespace creation
- Image repository integration
- Workload deployment
Prerequisites
- Basic understanding of Kubernetes architecture and platform concepts
- Pre-configured project following platform establishment procedures
Workflow Overview
Procedure
Create namespace
Namespaces provide logical isolation for resource grouping and quota management.
Prerequisites
- Permissions to create, update, and delete namespaces(e.g., Administrator or Project Administrator roles)
- kubectl configured with cluster access
Creation Process
-
Log in, and navigate to Project Management > Namespaces
-
Select Create Namespace
-
Configure essential parameters:
-
Complete creation with default resource constraints
Configure Image Repository
supports multiple image sourcing strategies:
Method 1: Integrated Registry via Toolchain
-
Access Platform Management > Toolchain > Integration
-
Initiate new integration:
-
Allocate registry to target platform project
Method 2: External Registry Services
- Use publicly accessible registry URLs (e.g., Docker Hub)
- Example:
index.docker.io/library/nginx:latest
Verification Requirement
- Cluster network must have egress access to registry endpoints
Create application via Deployment
Deployments provide declarative updates for Pod replicasets.
Creation Process
- From Container Platform view:
- Use namespace selector to choose target isolation boundary
- Navigate to Workloads > Deployments
- Click Create Deployment
- Specify image source:
- Select integrated registry or
- Input external image URL (e.g.,
index.docker.io/library/nginx:latest)
- Configure workload identity and launch
Management Operations
- Monitor replica status
- View events and logs
- Inspect YAML manifests
- Analyze resource metrics, alerts
Expose Service via NodePort
Services enable network accessibility to Pod groups.
Creation Process
-
Navigate to Networking > Services
-
Click Create Service with parameters:
-
Confirm creation.
Critical
- Cluster-visible virtual IP
- NodePort allocation range (30000-32767)
Internal routes enable service discovery for workloads by providing a unified IP address or host port for access.
-
Click on Network > Service.
-
Click on Create Service.
-
Configure the Details based on the parameters below, keeping other parameters at their defaults.
-
Click on Create. At this point, the Service is successfully created.
Validate Application Accessibility
Verification Method
- Obtain exposed endpoint components:
- Node IP: Worker node public address
- NodePort: Allocated external port
- Construct access URL:
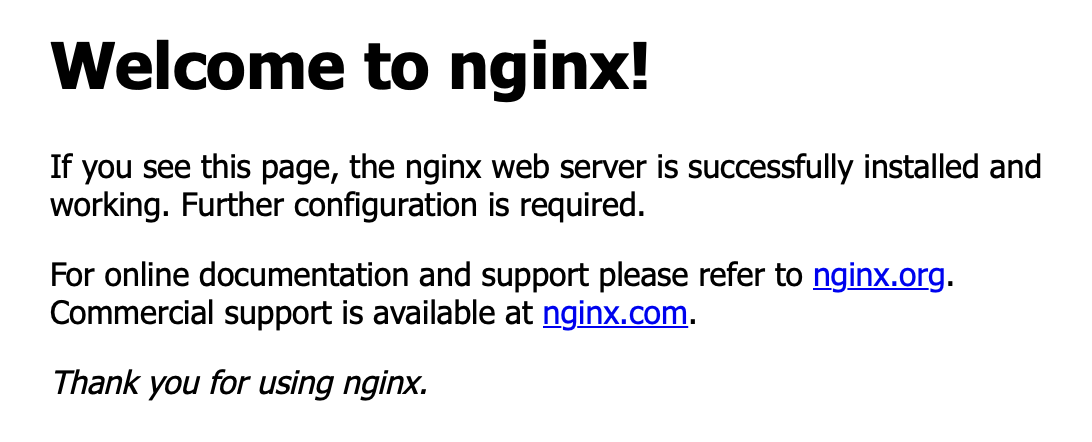
http://<Node_IP>:<NodePort> - Expected result: Nginx welcome page