Using RabbitMQ Management UI
This article covers the basic operations within RabbitMQ Management UI (Management Interface). For more content, please refer to the RabbitMQ Official Documentation.
TOC
Obtaining RabbitMQ Management UI Access Address
Instance Without External Cluster Access
If the instance does not have the external cluster access feature enabled, a load balancer must be configured to set up a reverse proxy.
-
In the Client area, click Add management port.
-
Configure the related parameters according to the instructions below.
-
Click Add.
-
Click the link provided in the Port column to log into RabbitMQ Management UI in a new browser tab.
Instance with External Cluster Access Enabled
-
In the left navigation bar, click RabbitMQ.
-
Click on Instance Name.
-
In the Access Method tab, click on Management Portal Address.
After logging into RabbitMQ Management UI, the page appears as shown in the figure below:
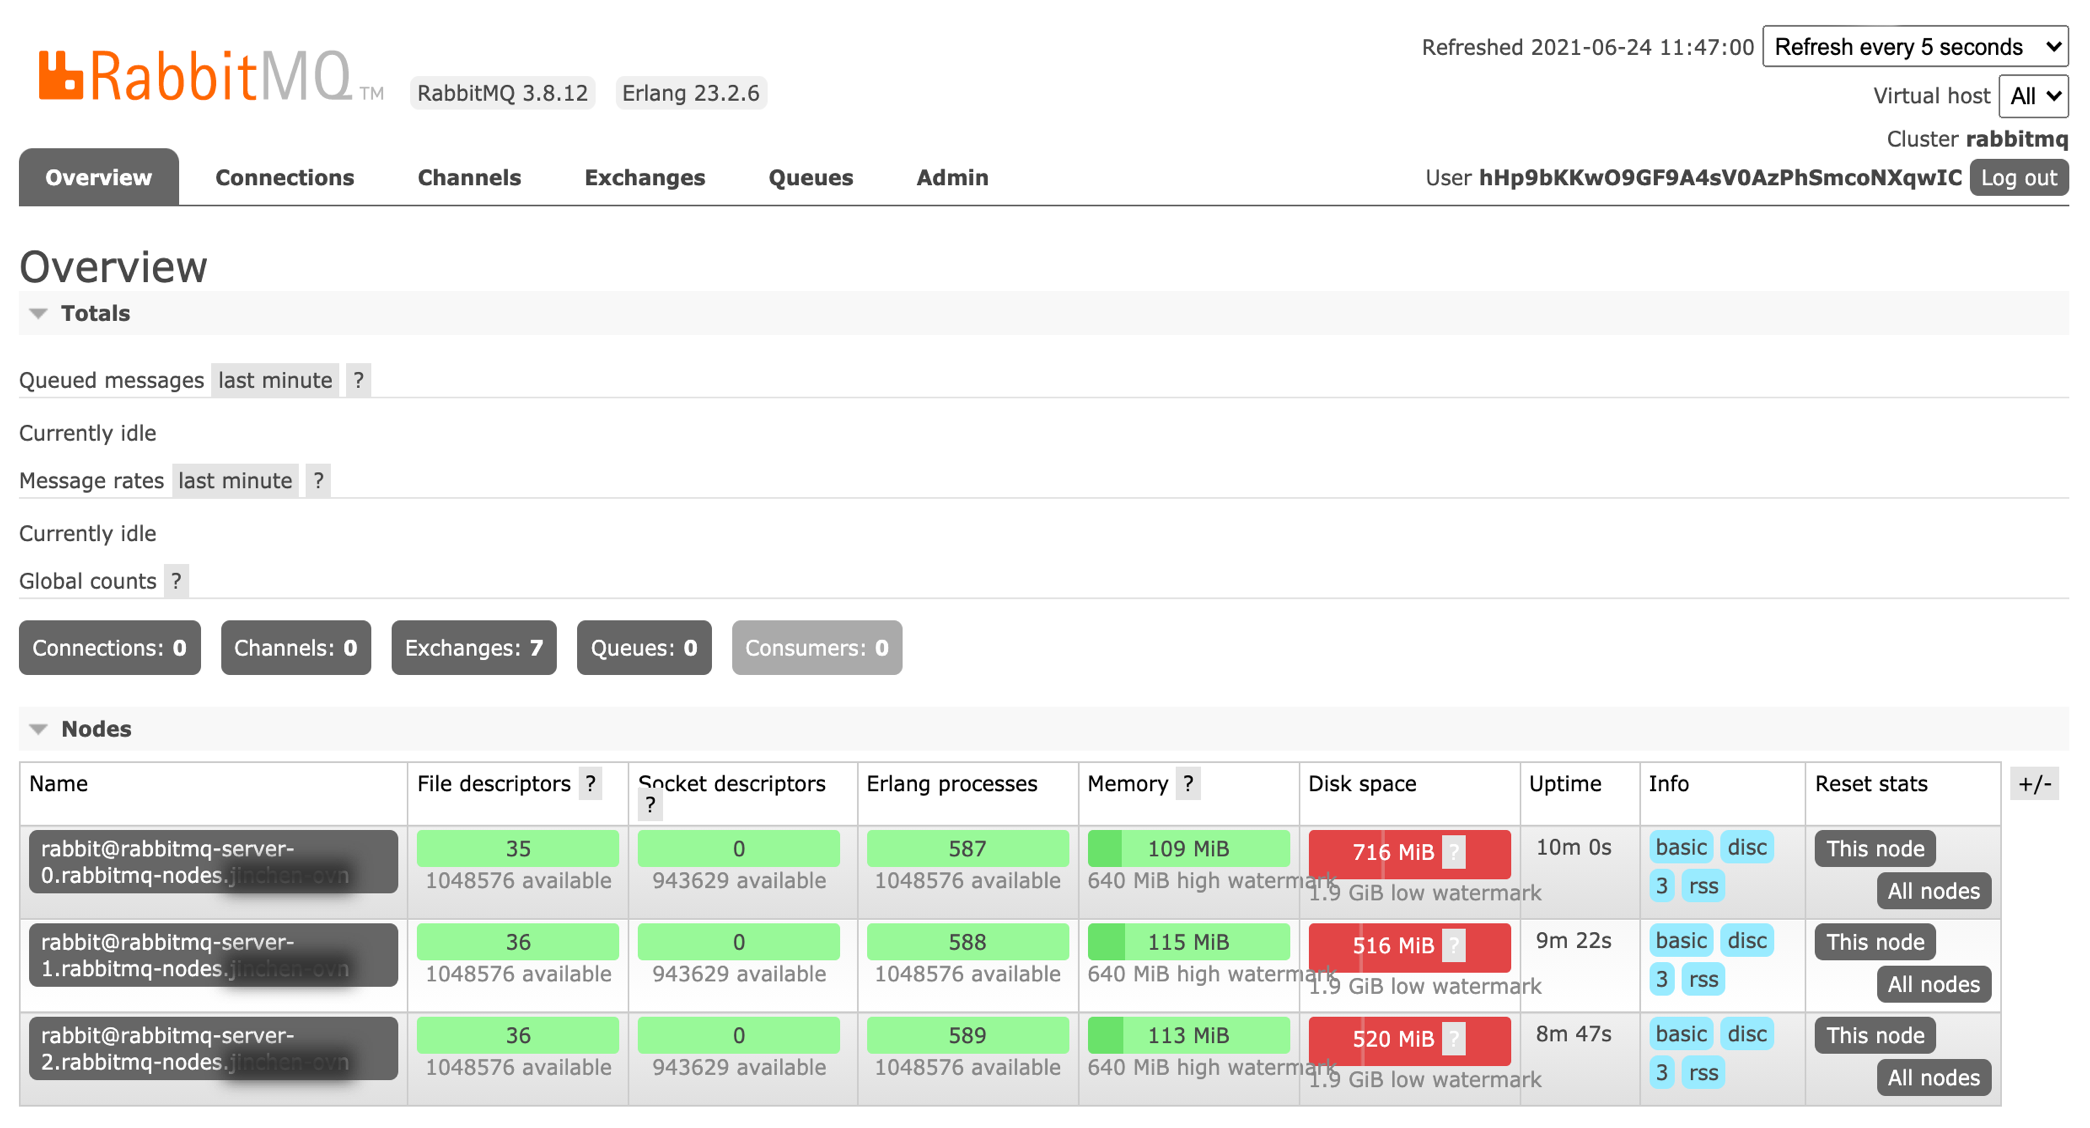
Using RabbitMQ Management UI
-
Refer to User Management to obtain login information.
-
Create an Exchange.
-
In the Exchanges tab, expand Add a new exchange.
-
Fill in the relevant information and click Add exchange.
-
-
Create a Queue.
-
In the Queues tab, expand Add a new queue.
-
Fill in the relevant information and click Add queue.
Tip: Configuring reasonable message timeout parameters (e.g.,
x-message-ttl=3600000) can avoid message backlog. Excessive message backlog may cause persistent volume claims to be impacted due to leftover unconsumed old messages, resulting in insufficient space to accommodate new messages.
-
-
Bind the Queue to the Exchange.
-
In the Exchanges tab, click on the name of the exchange.
-
Expand Bindings, fill in the name of the target queue, and set the Routing key.
-
Click Bind.
-
-
Send Messages.
-
In the Exchanges tab, click on the name of the exchange.
-
Expand Publish message, enter the Routing key set in the exchange, and fill in the message content in Payload.
-
Click Publish message.
-
-
Receive Messages.
-
In the Queues tab, click on the name of the queue.
-
Expand Get messages and click Get Message(s).
-
View the message content.
-